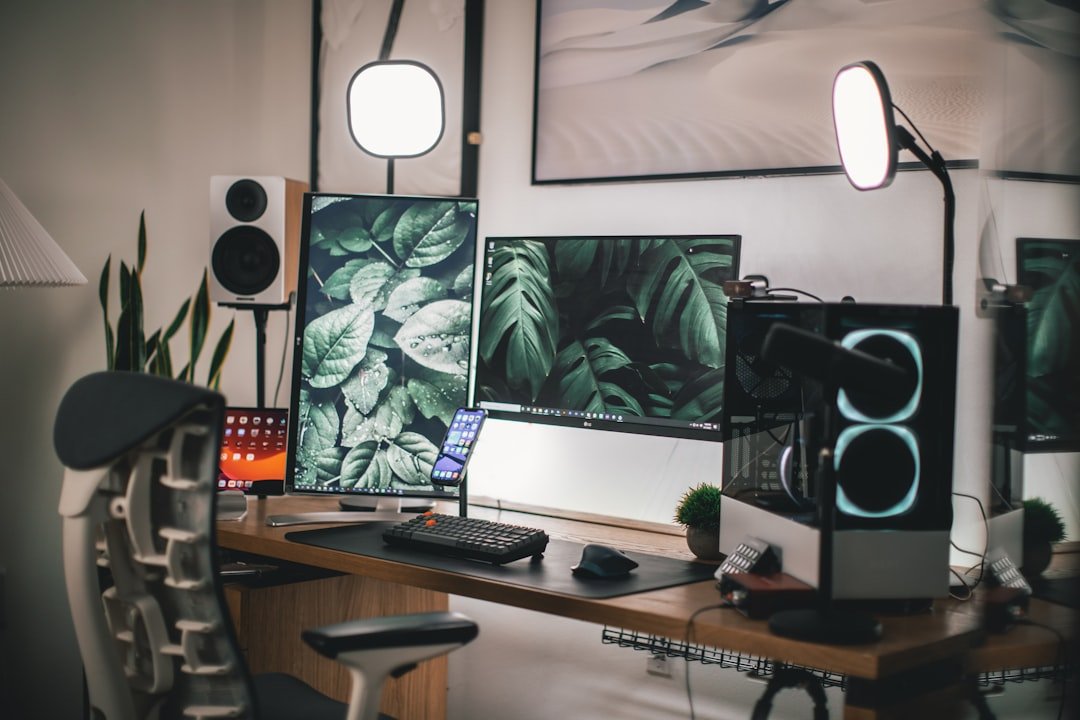
Pick one narrow video idea and write your first five titles today. That is the fastest useful start when learning how to start a faceless YouTube channel step by step, because a clear topic gives every later decision a direction. Many people spend weeks choosing software before testing whether they can make videos viewers want to click and finish. Start smaller. A channel about personal finance is broad, while a channel about simple budgeting systems for freelance designers gives you a clearer audience, a more focused research process, and a better chance of building repeatable video ideas without copying what larger creators already publish.
How to start a faceless YouTube channel step by step
Choose a niche you can research repeatedly
A faceless channel does not mean effortless content. It means the video relies on narration, visuals, screen recordings, animation, demonstrations, or carefully selected footage instead of the creator appearing on camera. Pick a subject you can explain accurately for months. Consistency matters.
Good niches usually sit where audience demand, your interest, and available source material overlap. You do not need formal credentials to discuss a hobby, a software workflow, public history, or your own product-testing process, but you should avoid presenting unverified claims as facts. Be careful with health, investing, legal, and tax topics. Those subjects need especially cautious sourcing and clear limits.
Before committing, search YouTube for 15 to 20 possible video topics in your niche. Look at the first page of results and ask whether you can make a useful version with a distinct angle, better structure, newer information, or a more specific audience. Do not copy a successful creator’s script, title, thumbnails, or visual sequence. Originality is required.
- Write down a viewer problem your channel will address.
- List 20 video ideas before creating the channel banner.
- Choose a format you can make in a few focused hours at first.
- Check whether the topic needs current information before each upload.
Decide on a simple repeatable format
Most beginners make production harder than necessary. Choose one main format for your first ten videos, then improve after you have real audience data. A repeatable format also makes it easier to estimate the time each upload takes.
| Format | What you need | Best use | Watch for |
|---|---|---|---|
| Screen-recorded tutorial | Screen capture, script, voiceover | Software and practical workflows | Keep steps current after updates |
| Explainer with licensed visuals | Research, narration, permitted media | History, business, educational topics | Do not rely on reused clips |
| Hands-only demonstration | Phone or camera, lighting, editing | Crafts, repairs, product processes | Show each important step clearly |
| Original motion graphics | Design tool, script, voiceover | Concepts that need visual explanation | Production time can grow quickly |
A screen-recorded tutorial is often the least complicated first format if you know a useful tool or process. Record the exact task, narrate why each step matters, and remove dead time during editing. Keep it practical. Viewers usually leave when an introduction delays the promised answer.
Build the channel basics in one sitting
Create a Google account or use an existing account, then create the YouTube channel inside YouTube Studio. Choose a channel name that is easy to say, spell, and remember. Avoid names tied to one temporary trend. You may want room to expand later.
Use a plain profile image and banner that communicate the subject without tiny text. Your About section should say who the videos help and what type of videos you publish. Keep it honest. You do not need to claim years of expertise or promise results to make a clear channel description.
Set up basic upload defaults before your first video. This can include a short channel description, a contact email if you want one public, and a few neutral words related to the topic. Do not stuff descriptions with repeated keywords. It looks low quality and does little for viewers.
Research each video before writing
Start each video with a question a specific viewer is already asking. Search suggestions, comments on relevant videos, forums, product documentation, and your own experience can all reveal useful questions. Capture the exact wording. It often becomes the basis of a better title.
For factual videos, use primary sources whenever possible, such as official product documentation, public records, published reports, or direct interviews you have permission to use. Confirm facts that may have changed. A software feature, policy, or price can shift quickly.
Create a short research note with the viewer’s problem, the key answer, supporting facts, source links for your own records, and a practical takeaway. This reduces mistakes later. It also stops you from reading random search results while recording a voiceover.
Write for retention, not word count
Your opening should answer the viewer’s immediate question or show the outcome they will get from watching. Skip the long branded introduction. The first 20 to 30 seconds are where viewers decide whether the video is relevant.
A useful basic script structure is simple: hook, context, main steps, proof or example, and a concise close. Give the first useful detail early. If the video is a tutorial, show the finished result near the beginning so viewers understand why the process is worth their time.
Write as you speak, then read the script aloud once. Shorten sentences that sound stiff, remove repeated points, and define unfamiliar terms before using them. A clean voiceover feels more natural when the script has pauses and visual cues built into it. Aim for clarity.
Do not pad a six-minute idea into a twelve-minute video. A shorter video that answers the question cleanly can earn more trust than a long one filled with generic commentary. Duration is a result of the material. It is not the goal.
Record narration and make original visuals
You can use your own voice, hire a voice actor with a clear written agreement, or use a synthetic voice where it is permitted and appropriate. Your own voice is often easiest to direct and revise. It does not need to sound like radio.
Record in a quiet space with your phone or a basic USB microphone, then listen through headphones before recording the full script. Reduce echo with soft furnishings if possible. Clear audio matters more than expensive gear in early videos.
For visuals, prioritize footage you created, screen recordings you made, assets you licensed, or media that you have a valid reason and permission to use. Adding a voiceover to someone else’s clips is not automatically enough to make the video original. YouTube can review channels for reused or repetitive content when considering monetization, so read the current official YouTube Partner Program and copyright guidance before you build a workflow around third-party material.
Artificial intelligence can help brainstorm outlines, generate draft captions, or create visual elements under the relevant tool’s terms. Check every factual statement yourself. A polished synthetic voice and AI images cannot compensate for weak research or a copied concept.
Edit for pace and understanding
Use an editor you can learn without friction. Free desktop and mobile editors may be enough for a first channel, while paid tools can save time after you know exactly which features you use. Prices vary by region. Check the current plan details on the provider’s official site before subscribing.
Place visuals where they explain the narration. Cut pauses, repeated phrases, failed takes, and any clip that does not move the point forward. Add captions if they improve access and comprehension, but review automatic captions because names, technical terms, and numbers are often transcribed incorrectly.
Keep music low or leave it out. Music should not compete with instructions or make the video feel rushed. If you use music, use tracks you created or properly licensed, and keep proof of the license with your project files.
Package the video for a real person
Your title and thumbnail make a promise. The video must deliver that promise quickly. Avoid vague titles like Watch this before you start when a viewer needs to know what the video actually teaches.
A useful title usually contains the task, outcome, or problem in natural language. A thumbnail should communicate one idea with a readable image and minimal text. Test it on a phone screen. If you cannot understand it at a small size, simplify it.
Write a brief description that explains the video and includes relevant context, source notes when appropriate, and any necessary disclosures. Chapters can help longer tutorials if each section has a clear purpose. Do not add tags or links that have nothing to do with the video.
Publish on a schedule you can keep
Choose a schedule based on your actual production time. One well-made video every week or two is more useful than publishing daily for a month and then disappearing. Make the process sustainable.
After publishing, use YouTube Studio to review impressions, click-through rate, average view duration, audience retention, traffic sources, and comments. These metrics are clues rather than verdicts. A low click-through rate may point to packaging, while a sharp early retention drop may mean the opening was slow or mismatched to the title.
Change one thing at a time when possible. If you rewrite titles, redesign thumbnails, and alter topic style all at once, you will not know what helped. Keep a basic spreadsheet with the topic, publish date, format, title idea, production time, and lessons from each upload.
Plan monetization after the content works
Monetization can come through YouTube’s available programs, affiliate links with proper disclosure, digital products, sponsorships, or services related to the channel topic. None of these is automatic. Eligibility rules, advertiser suitability decisions, viewer behavior, and platform policies can change.
Build audience trust first. If you recommend a tool, explain who it may suit, what it costs at the time you checked, and where its limits are. Do not promote products you have not researched simply because they offer a commission. A small audience that trusts your recommendations can be more useful than a large audience that ignores them.
Your first goal is evidence. Publish several original videos, learn which questions attract the right viewers, and improve the production step that slows you down most. That is how a faceless channel becomes a small media asset over time, though the outcome depends on your niche, consistency, content quality, and changes you cannot control.
Related posts
This article is for general informational and educational purposes only and is not financial, tax, or legal advice. Any income examples are illustrative, not typical or guaranteed — results vary widely by effort, time, niche, and platform changes, and we do not guarantee you will earn any income. Always do your own research and consult a qualified professional before making financial decisions.
Disclosure: This post may contain affiliate links. If you click through and make a purchase, we may earn a commission at no extra cost to you. We only recommend tools we’ve researched or genuinely believe in.